How to sew fleece pants for kids of all ages
Hello fellow sewing mama! How exciting that you are here and ready to take on sewing fun cozy fleece pants for your kiddo or as a gift (they do make perfect gifts!)! Fleece pants are great for all types of adventures, as super cozy post adventure pants, for home days or even as pajamas at home or camping!
Eight steps to custom sewn pants!
In just eight steps, you too can sew a pair of fleece pants. My own three girls enjoy picking out their own print each summer/fall and enjoy the personalized touch of having pants that are cozy and in a print that they love! When they outgrow them, they are good hand me downs to the next sister OR great hand me downs to a younger friend!


Step 1: Gather supplies
For these pants you will need:
- Sewing Machine and sewing needle for fleece fabric (ideally size 12).
- Non-pill fleece fabric (plain or printed). Amount depends on size of pants you are making. 3 y.o. and younger= ¾ yard. 4-7y.o. = 1 yard and for older kids 1.5 yards (fabric amount needed is hip to ankle measurement plus 6”). I purchase anti-pill fleece at Joann fabrics store, and it is often on sale, making these pants a very cost-effective project.
- Spool of all-purpose thread (color depends on fleece color). Same color can be used for both thread and bobbin.
- 1” non-roll elastic. Amount depends on size of kid. 1 yard is plenty for one pair of pants.
- Sewing Pins and 1 safety pin
- Sample pants of kid’s current size.
- Sharp Scissors

Step 2: Lay out your fabric.
Make sure the stretch of the fleece is going width wise. Fold fabric over lengthwise to a few inches wider than the sample pants you are using.
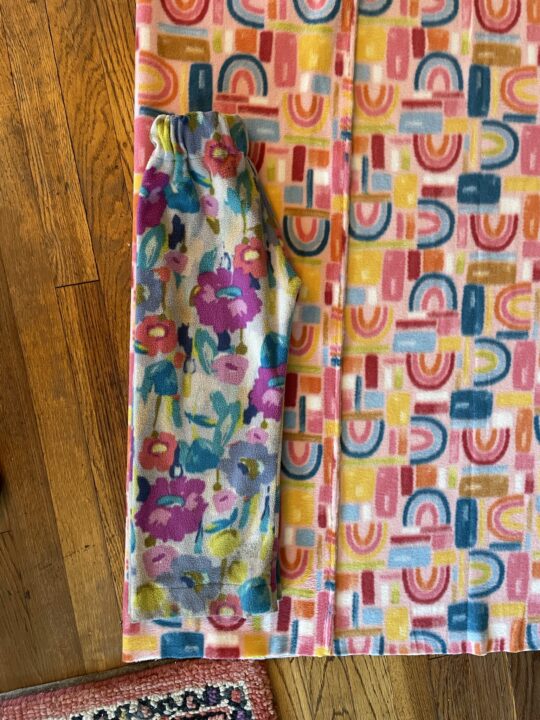
Step 3: Place sample pants on the fabric folded in half, with the outside of leg along the folded side of the fabric.
Cut double width of fabric beginning at the top (waist area) 4” above the sample pants. Once to the edge of the sample pants waist, cut about 2” wider than the sample pants (if using small pants like leggings) all the way until the point of the pants (crotch). If using similar size/width pants to what you want the finished product to look like, than cut 1/2 inch wider than sample pants.
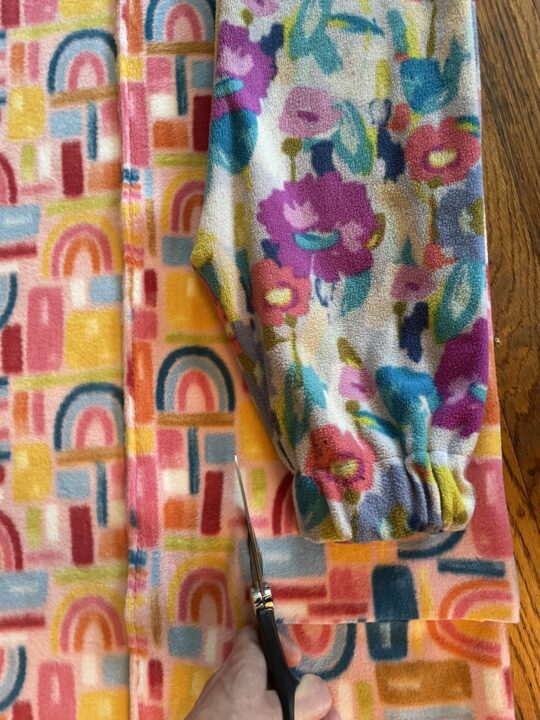
Continue cutting same distance from the sample pants all the way down to the bottom (ankle area of pants). This gives you one leg of the pants. Repeat this step again for other leg. I make mine fairly wide, as my kids like them to fit over their rain/snow boots, but this is a totally customizable step. Just make sure they are wide enough to easily slip over the foot for on/off ease!
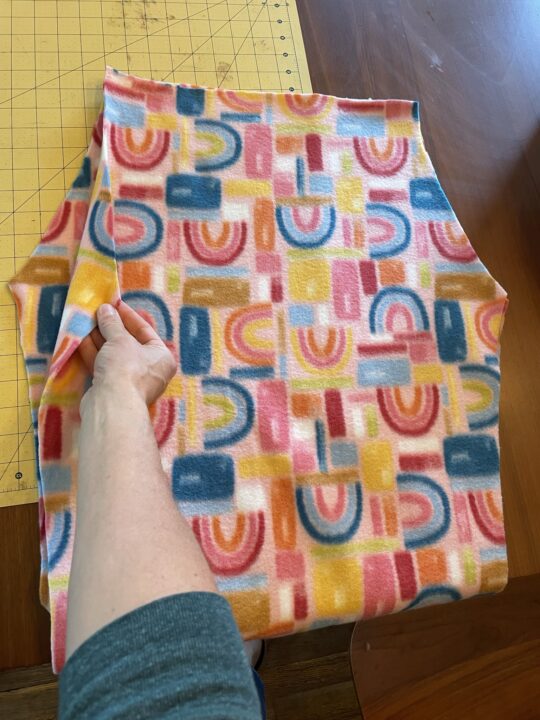
Step 3. Open fabric completely and match fabric right sides together.
Sew along both curved edges from beginning to end. I do a couple forward and reverse stitches to secure each edge that I sew. A straight stitch is the right stitch to use for sewing these pants.

Once finished, place the sewn edges together (right sides are still together). They should look like an unfinished pair of pants at this point. Then sew beginning at the inner ankle of one leg, sew along the inside edge, leaving about 1/4-1/2″ seam allowance. Sew all the way around until you reach the other side (opposite ankle). You have completed the inside leg seam!

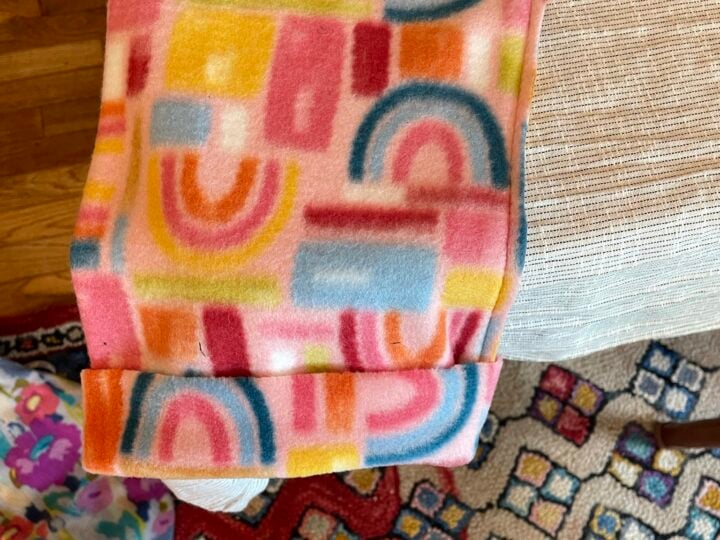
Step 4: Continuing with right sides together, fold the bottom hem up about 2”.
This is the time to determine just how long you want the pants. If you have your kid nearby, they can try on the pants, and you can pin the hems up and also the waist area down to size. If you don’t have the recipient of these pants near by, you can ask the parent or guardian for the inseam of the child to help you make them the appropriate length. Sew the bottom hem of each of the legs.
Step 5: Sew the waist hem down.
Leave at least 1” open perpendicular to the front vertical seam, so that you have space place the elastic through the waistline band.

Step 5: Determine your elastic length.
If your kid is nearby, you can put the elastic around their waist. I guestimate by using their waist circumference. Then when the elastic is eventually sewn in an overlap, it becomes less than their waist size. If they are not nearby, you can ask their parent/guardian to measure their waist circumference. Best measurement is at the belly button. Place your safety pin in the end of one side of the elastic and push it through the waist hem.

Once elastic is completely around and through, and you are certain the elastic is not twisted, you can sew the elastic together. I overlap the elastic at least an inch and sew in a box shape for security.

Step 6: Sew the remaining 1″ hole of the waist hem.
In this step, you simply sew the opening (where you strung the elastic through) down completely to make a finished edge.
Step 7: Trim any extra threads or excess fleece seam allowances you would like to get rid of.

Step 8: Time to turn the pants right side out!
Turn the completed pants right side out. Cheers! You have made a pair of cozy, irresistible and versatile pants! Soon to be worn as pajamas, during cozy home days and outdoors for all types of adventures!

Feel free to comment with questions if I didn’t explain something clearly and you are stuck! Happy sewing and enjoying the feeling of accomplishing a sewing project!

References:
Sewing instructions for kid’s cozy fleece pants!
© 2022, Tales of a Mountain Mama. All rights reserved. Republication, in part or entirety, requires a link back to this original post and permission from the author.